Identifying Your Tractor's Solenoid: A Visual Guide
That frustrating moment when your tractor won't start? A faulty solenoid is a common culprit. Before you call a mechanic, let's get you back in the field. This guide provides clear, step-by-step instructions to help you identify, test, and replace your tractor's solenoid – even if you're new to tractor maintenance. Many problems can be solved with basic tools and a little know-how! Did you know that a timely solenoid replacement can prevent major repairs down the line and save you significant costs?
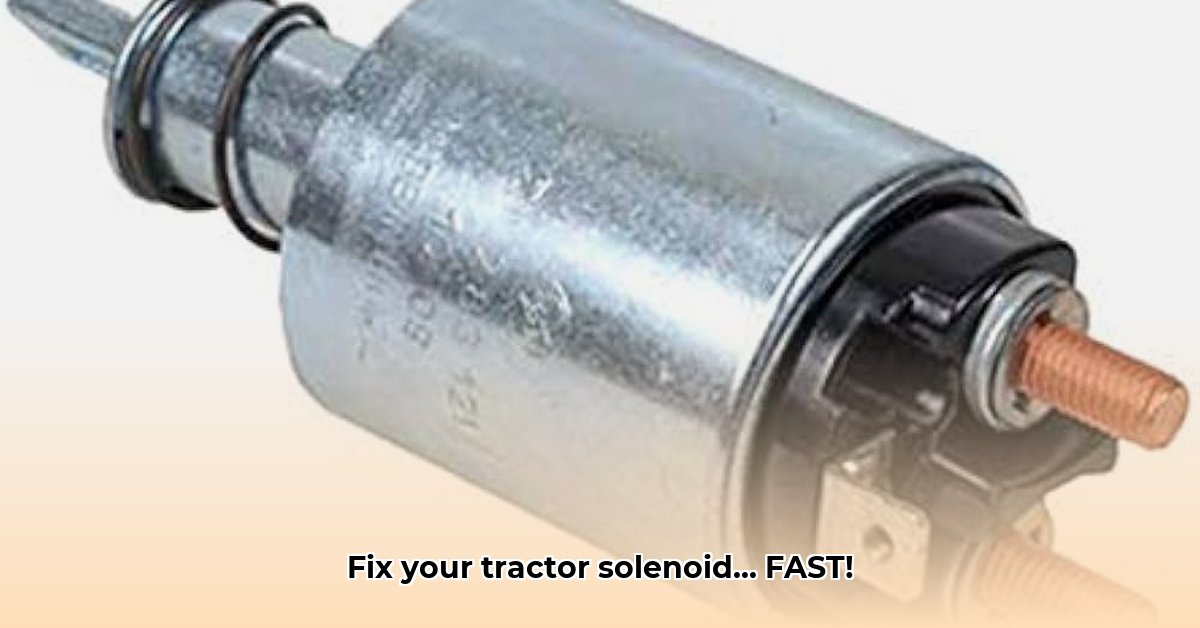
First, you need to locate the solenoid. This is often a small, cylindrical component, typically near the starter motor or battery, but its exact location depends on your tractor's make and model. Consult your owner's manual for a precise location diagram. If you can't find your manual, online forums dedicated to your tractor model are invaluable resources. Many show pictures of the component's location for specific models.
Testing the Solenoid: A Multi-Step Process
Before replacing your solenoid, let's confirm it's the problem. You'll need a multimeter (a device that measures voltage, resistance and current).
Safety First: Always disconnect the tractor's negative battery terminal before performing any electrical tests.
Step 1: Checking for Power: Set your multimeter to measure DC voltage. Test the wires supplying power to the solenoid. No voltage? The problem lies elsewhere in the electrical system.
Step 2: Continuity Test: Set the multimeter to ohms (resistance). Connect the multimeter leads to the solenoid's terminals. A reading near zero indicates good continuity; a high resistance or infinite reading suggests a faulty solenoid coil.
Step 3: Checking for Shorts: Again, using the ohm setting, check for shorts by testing the resistance from each solenoid terminal to the tractor's chassis (ground). A low resistance indicates a short circuit, possibly damaging the solenoid or its wiring.
If tests indicate a faulty solenoid (high resistance or short circuit), it's time for a replacement. Remember, a quick test can save you from the frustration of potentially replacing the wrong part. Don't you agree?
Replacing the Solenoid: A Step-by-Step Guide
Replacing a tractor solenoid is manageable with the right instructions and tools. Always consult your owner's manual for model-specific instructions, since procedures can vary slightly.
Step 1: Disconnect the Battery: This is crucial; electrical safety is paramount.
Step 2: Release Hydraulic Pressure (If Applicable): If the solenoid is part of a hydraulic system, carefully release pressure according to your manual's instructions. Failure to do so can be dangerous.
Step 3: Disconnect Electrical Connections: Carefully disconnect the wires from the solenoid, noting their positions. Taking pictures is highly recommended.
Step 4: Remove the Old Solenoid: Carefully unscrew or unbolt the old solenoid from its mounting bracket. The necessary tools might include wrenches or screwdrivers, depending on the solenoid's mounting.
Step 5: Install the New Solenoid: Position the replacement solenoid exactly as the old one was. Replace and securely tighten the mounting fasteners.
Step 6: Reconnect Electrical Connections: Carefully reconnect all wires, ensuring they are securely fastened.
Step 7: Reconnect the Hydraulic Line (If Applicable): If applicable, reconnect the hydraulic line, ensuring a leak-free connection.
Step 8: Reconnect the Battery and Test: Reconnect the battery. Test your tractor to ensure the solenoid functions correctly.
Preventative Maintenance: Key Tips for Extended Solenoid Life
Preventative maintenance can significantly extend the life of your tractor solenoid. A small amount of regular effort can save you significant time and money.
Keep it Clean: Regularly clean the area around the solenoid to prevent dust and debris from interfering with its function.
Inspect Wiring: Periodically check the wiring and connectors for any signs of damage (fraying, corrosion, loose connections). Repair or replace damaged wiring promptly.
Avoid Overuse: Don't continuously energize the solenoid when it’s not required. This prevents excessive wear.
These simple steps can prevent costly repairs down the road.
Choosing the Correct Replacement Solenoid: Ensuring a Perfect Fit
Selecting the right replacement is crucial. Your tractor's owner's manual provides the part number; if absent, contact your dealer or an agricultural parts supplier, providing your tractor's make, model, and serial number. Ensure the replacement solenoid matches your tractor's voltage and amperage specifications.
Remember: If you're uncomfortable with any step, consult a qualified mechanic. But with these steps, you're well-equipped to handle most solenoid issues yourself - saving time and money! You'll also feel a real sense of accomplishment.